Lighting on an image can be everything. Without the right balance of light, a beautiful image loses its appeal.
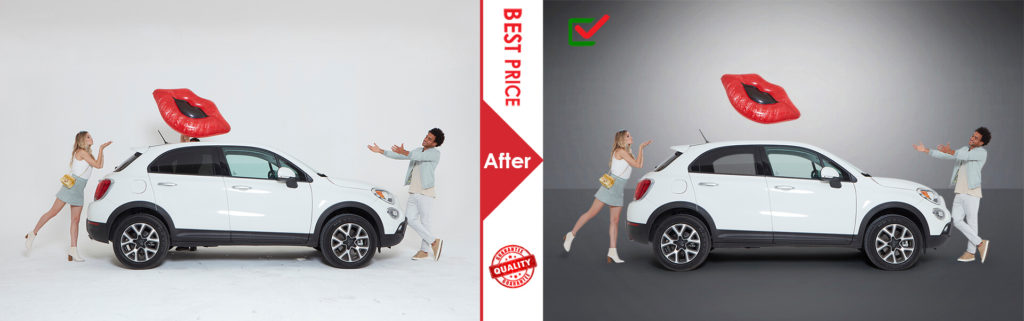
Though with Photoshop lighting effects, you may be able to alter, change, add or remove lighting on an image according to your liking. This practice is common in the automotive industry where Photoshop car lights effects are added on an image to add or remove some details, manipulate scenes, create special effects and many more.
How to Create Car Reflection in Photoshop
This article will be about what is a car light effect in Photoshop, its importance to a car dealer, and breakdown to you how to create one of the preferred car lighting effect in Photoshop.
 Make A Car Lighting Effect in Photoshop
Car Lighting Effects in Photoshop
Car lighting is the process of applying various lighting effects in Photoshop on an image of a car, to alter its appearance, manipulate scenery and many more. Depending on your expertise with Photoshop, there are tons of ways you may use these effects like changing the time of the day, turning a car’s headlights ON or OFF, adding street or police lights and so on.
Pros And Cons Of Photo Editing
- Given the potential and results lighting effects can do and deliver from an image, car dealers extensively use these effects to edit pictures of most of their products. Here is why:
- Edited images have an astounding visual appeal hence when these photos get published, they draw the attention of everyone and among them lie potential customers.
- Previously taken images may be retouched removing flaws in them and adding extra special effects.
- Backgrounds on images that are unwanted or inappropriate get eliminated.
- Professionally edited images are a vital part of car marketing and branding.
- Manipulation of scenery, speed and time are made possible enabling them to make the right advertisement for their target group.
How to Create Car Light Effect in
Photoshop
There are various ways that you can create a car light effect in Photoshop. Below is a tutorial on how to turn on headlights of a car in Adobe Photoshop CS 6.
Do you know Best Car Photo Editing service in the globe?
Part 1: Creating Beams of Light
1. Open Photoshop and insert an image of a car that has a source of light on it.
2. Create a new layer.
3. Hit L to activate the Polygonal Lasso Tool or right click on the Lasso Tool on the Tool
Bar on your left, then select Polygonal Lasso Tool
4. Starting from the headlights, create a triangle towards where the car is facing then
release outside your working space to make it a selection.
5. Press Shift+F5 to fill the selection with white.
6. A Fill dialog will appear whereby you will choose White and hit Enter.
7. Move to Filter>>Blur Gallery>>Field Blur
8. Use your cursor to hold and drag the point that appears to the headlights. The Blur
Intensity should range from 20px to 30px.
9. Click on the image and add another blur point on the other light section and set the
Blur Intensity in the range of 200px and 300px depending on the copy.
10. Hit OK for this to apply on the layer.
11. Add a Layer Mask on top of that layer by clicking on Layer Mask icon-a white mask should appear beside the layer. The light intensity will now be higher at the headlight, decreasing as you move away from the source of light.
12. Use the Gradient Tool to further increase the effect above by going to the tool and
pressing Shift+G several times to give it a more realistic look. Use Black to
White or Black to Transparent Gradient.
Part 2: Adding Light Streaks
1.Create a new layer then fill it with several specks and dots
2. Add a Radial Blur by going to Filter>>Blur>>Radial Blur
3. On the Radial menu that appears; set the Amount within 80-85, Blur Method to zoom
then, Quality to Best or Good. Hit Enter for the changes to apply on the dots.
4. If you want to add streaks, add more, then press Ctrl+F for Windows.
5. Once you are through, change Blending Mode to Screen from Normal.
6. Adjust the color by moving to Image>>Adjustments>>Hue/Saturation or combining
Ctrl+U on Windows.
7. Continue to make transformations as you with but ensuring source remains at the light
source.
Part 3: Making the Second Light
1. Make a group. Begin by selecting all the light layers.
2. Combine Ctrl+G in Windows, add a name then hit Enter.
3. Duplicate by Ctrl+J in Windows then name it.
4. By pressing V to activate the Move Tool, proceed and drag it to the second light
source.
5. You may add a layer mask or turn off the light streaks if need be.
Part 4: Lighting the Ground
1. Create a new layer by Ctrl+Shift in Windows.
2. Use the Elliptical Marquee selection tool to create a circle on the ground.
3. Use the Brush tool to fill it with the same color you used on the streaks of lights.
4. Duplicate the layer by Ctrl+J and position them beside each other.
5. Now Merge them by Ctrl+E on Windows.
6. Give the combined layer a Gaussian Blur found on Filter>>Blur>>Gaussian Blur
7. Set the Amount within 45px and 75px and hit OK.
8. Change Blending Mode to Soft Light from Normal.
Part 5: Adding a Lens Flare
1. Make it more realistic by adding a Lens Flare.
2. Set the Flare from headlight which is the light source in this case.
3. You can choose to change hue or add a layer if it’s too red.
This method
may apply on spotlights, motorbikes or any other light source with similar
lighting. The information provided in this article will transform you from a
newbie in lighting effects in Photoshop and with some practice; your skills and
prowess will grow at a fast rate. To add more to your knowledge, research on
how to apply and make a Lens Flare Filter editable in Photoshop. Please
subscribe to our blog and YouTube channel to keep getting our informative
articles and videos.