Changing the color of your car will not only make it new and appealing but will also speak out your personality to onlookers. According to research, white cars tend to be most preferred followed by black, silver and grey respectively.
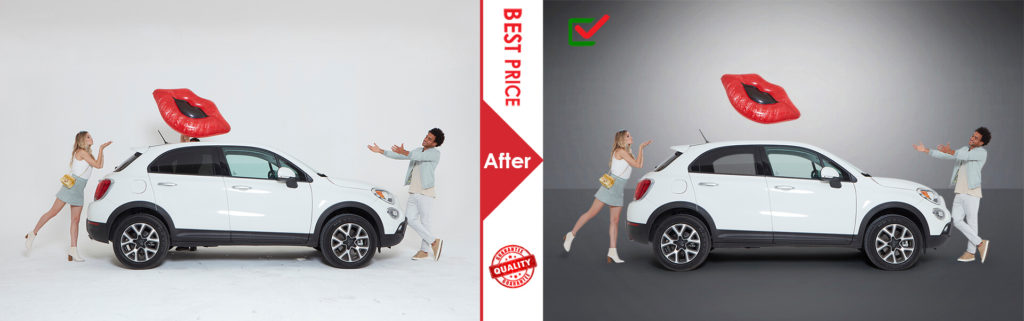
Before deciding to buy a new vehicle or change the color of your old car, one can have the chance to try different color looks on your selected car via Photoshop. Car companies and dealers have embraced the Photoshop idea to improve on their product sales. Further, customers are enjoying the benefit of color choice before purchase. This was only a dream during the past days when trial and error was the way to getting the perfect color for your car.
Below is detailed overview on how Photoshop can help one design a trendy color of his or her vehicle before closing the deal. At this point, you should have decided the car of your choice and have different ideas of how you may want it to look.
Method 1: Using the Pen tool
- Start by right clicking your pen tool then click on add-on-anchor point tool.

- Visualize the part where you want to change the color to a single preferred color.
- Click on one point and enclose the area where you want to change color, but also making sure you clink on every visible edge so that you will not leave any part behind.
- When clicking on all edges, ensure you are moving towards your end. Your endpoint is supposed to be where you plotted the first dot.

change car color - Try to be more accurate as your dots are to be in line with the car’s outline.

- Go back to the pen tool and select right click and convert.

From the layers, panels’ sidebar on your right, open a new layer and duplicate the layer. Close one layer for reference to your original vehicle and work with the other layer.
- Still on the same sidebar, below it, you will find a circular icon click it and select hue and saturation.
Hue, saturation, lightness and colorize the mostly used tools to help you find the best color range for your automobile. These changes only applies to the selected areas.
Method 2: Using the Magnetic Lasso tool.
- Trace the part by dragging the tool along your specified part outline.
The dots should end where you started just like the pen technique.
On the right-hand sidebar panel, create a new group represented by an icon that looks like a file or a folder.
- When the group you created is still highlighted, add on the mask you have designed. The add-on layer mask icon is on the left side of the new group button.
- Still, on the same menu bar, you will find a circular icon click on it then add on black and white and hue and saturation filters. Adjust hue, saturation, and lighting to match your preferences.
- If you want to finish up on the edges correctly, you can still use the brush tool to wipe off colors that are not required to appear on the specified part. This would be a common mistake if you were not accurate when aligning your dots alongside the car’s outline.
- By either switching the background or the image filter on, the brush tool adds color to the part you are applying corresponding with the rest of the mask. If you turn background on, the color added on, your applied area will match your background and vice versa.
Bonus Tips For Our Guest
- Open your selected car picture with Photoshop
- Click on the image on your left sidebar panel.
- On the menu bar on top of your screen click on the image icon, drop down to the adjustments and a box will pop out in which you will select on replace color. In a few seconds, a replace color dialogue-box will appear.
There will be a black and white image representation of your car. Make sure the fuzziness is approximately 200. This is to ensure the car image stays white while black represents its background.
- From here, your task is to paint your different vehicle car colors to check which looks you prefer. Still, on the replace color box, click on the result rectangular box on the lower left. There is plenty of colors you can choose from. Your curiosity will give you the best results.
- To perfect the look of your photo-shopped car, other tools can be used to enhance the outlook. If you spot some shades of your original color remains at some parts of your vehicle, the magnetic lasso tool can help to finish the last look of your car. The magnetic lasso tool is found under lasso tool in your left drop down bar. For instance, if you do not want a single color dominating you can still use the magnetic lasso tool to add more colors to specific parts that you want to change.